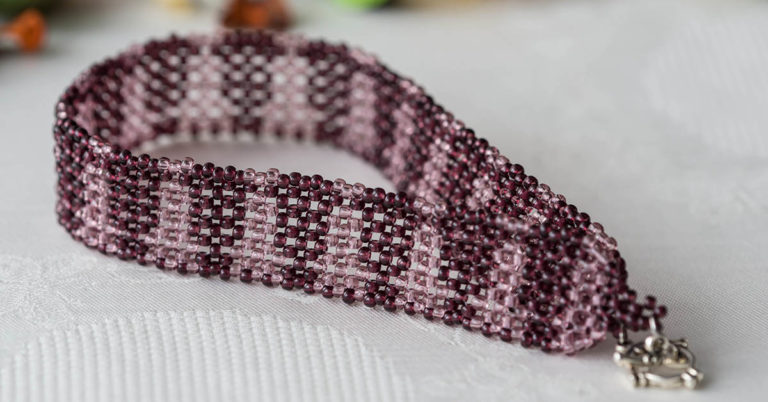

Peyote beading is super popular because it’s easy to do and can be used to make a range of patterns and effects.
A peyote stitch bracelet is a great place to get started with this craft – it’s easy to make a stunning piece of peyote jewelry that makes a lovely gift.
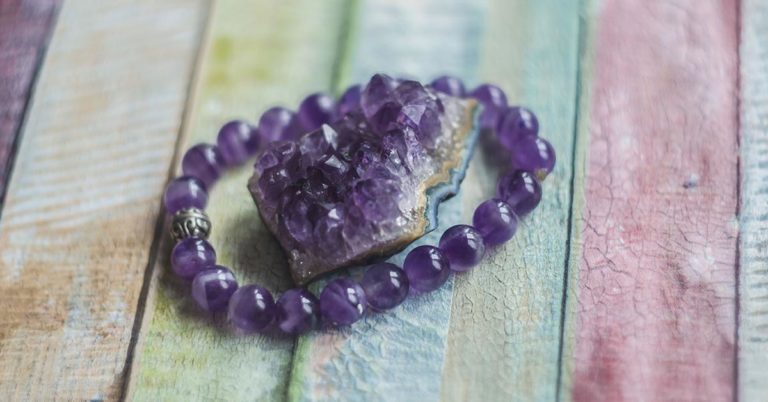
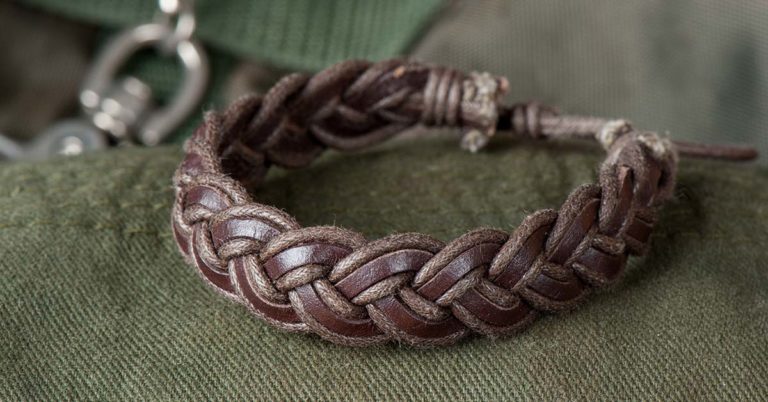
Searching for non-bead bracelet projects? Check out these easy DIY tressed chain bracelet and druzy bracelet tutorials.
The best peyote stitch bracelet tutorials
Once you’ve mastered peyote stitch, the next step is to learn how to turn it into a stunning piece of jewelry.
These tutorials will show you how to make a range of beautiful peyote stitch bracelets, from wide cuffs to double wrap bracelets, with detailed step-by-step instructions.
These projects are suitable for all levels, and most are simple enough for complete beginners!
1. Flat even count peyote stitch tutorial
If you’re completely new to peyote bead stitch, this tutorial is the perfect place to start. It’s also a great refresher if you’ve done this stitch before but your skills are a little rusty!
This basic introduction to flat, even count peyote stitch covers the stitch from start to finish, starting with preparing your thread and stringing a stop bead. The detailed, step-by-step instructions walk you through starting rows, stacking beads to stitch rows, and finishing the peyote beadwork, all illustrated with clear photos.
You could use the techniques in this tutorial to create a flat peyote bracelet – simply continue making rows until you have created a bracelet the right size to fit your wrist. If you want to learn peyote bead stitch and make your own beginner-friendly peyote bracelet, check out the tutorial here.
2. Basic peyote stitch bracelet
This tutorial shows you the basics of peyote for beginners and how to create a bracelet using even count peyote. You’ll also learn how to create a diagonal pattern in peyote stitch.
The video explains how to start peyote stitch, which beads to use, and how to choose your colors. It also covers essential information like what needle and how much thread to use.
Simply follow along with the video tutorial to learn the beading techniques and create a bracelet. It also teaches you how to count beads which is handy for knowing how to follow patterns.
You’ll find part one of the video here and part two here.
3. Peyote stitch cuff bracelet
One thing that makes these cuff bracelets super easy to make is that they fit straight into cuff blanks. This means that you don’t need to worry about finishing the bracelet and adding clasps (or similar), which can often be the trickiest part of the project.
This tutorial is very comprehensive, covering the materials you need, and step-by-step instructions illustrated with high-quality photos. The tutorial uses lovely fall colors of coral, cream, brown, and copper, though of course, you can choose to make it in any color of your choosing!
If you’d like to make your own peyote cuff bracelet, you’ll find the detailed tutorial here.
4. Diagonal peyote stitch bracelet
This diagonal-patterned peyote stitch bracelet is created with odd count peyote. It uses certain techniques to create interesting, uneven edging that makes this bracelet unique.
We also love the use of metallic beads for a stunning, shimmery effect. Video shows you how to make the bracelet step by step, from starting the beading to finishing the bracelet and attaching a clasp.
With the use of odd count peyote and other techniques, this project is a little trickier to make than some, so is best suited to those with experience in peyote beading.
If you want to make this unique bracelet, you’ll find the video tutorial here.
5. How to create your own peyote stitch bracelet designs
If you feel limited by the other projects on this list, this tutorial will let you create almost any peyote bead bracelet you’d like!
The tutorial walks you through each step of the process of creating a peyote bracelet design, from the basic form to fit your wrist, to forming the basic design and choosing the colors. It also touches on how to use design software to develop your design.
You can use the deceptively-simple layout to make stripes, slants, grids, crosses, or just about any pattern you’d like! Experiment with different techniques and ideas, and with a bit of practice, you’ll be able to make just about any piece of peyote jewelry you’d like!
If you want to create your own peyote stitch bracelets designs, get started here.
6. Peyote stitch endless bracelet
We love the double-wrap design and zig zag pattern of this bracelet. This stunning piece of peyote jewelry is easy with flat even count peyote, so is easy to make.
The video tutorial shows you how to make this two-wrap bracelet, and you can follow each step of the process. It also shows you how to finish the bracelet with a slide bar clasp.
To make your own endless bracelet, watch the video tutorial here.
7. Beginner peyote stitch bracelet tutorial
This easy peyote stitch bracelet pattern is specifically designed for novice beaders, so it is fantastic for beginners. It uses flat even count peyote stitch to make a simple yet effective striped peyote stitch bracelet.
The tutorial has written instructions with photos to walk you through each step of the process, and you can also watch the video.
One thing we like about this tutorial is that it includes detailed instructions on how to attach the clasp, which is also the biggest challenge for beginners.
The tutorial also has the pattern available to download for free, you’ll just need to enter your email address. If you want to make your own beginner-friendly peyote bead stitch bracelet, you’ll find the tutorial here.
8. Caribbean getaway peyote bracelet
This stunning Caribbean-themed bracelet uses peyote beading to create a stunning diamond-shaped bracelet. The project is a little more advanced, so it is best to only tackle this one once you have some experience with peyote beading.
The pattern uses an odd count flat peyote stitch, which is trickier than even count peyote, so we’d suggest practicing your even count peyote stitch before moving on to this one.
Although the site includes comprehensive instructions and a materials list, it does not have detailed explanations or photos for every step. However, they do have a video that shows you how to create odd count peyote, so intermediate and advanced beaders will have everything they need to make this beautiful piece of peyote jewelry.
If you’re keen to tackle this project, you’ll find the pattern and instructions here.
9. Ombre ribbons peyote stitch bracelet
This bracelet pattern is a perfect example of the versatility of peyote stitch and the varied effects you can create with it. It uses beads in graded tones to create an ombre effect on criss-crossing lines or “ribbons”.
Best-suited to intermediate and advanced beaders, though it only uses easy flat even count peyote stitch. So once you’ve done one or two of the beginner-friendly projects on this list, you should be ready to tackle this one!
The site has a detailed pattern and instructions, and also gives tips on suggested supplies to use to make your bracelet. However, this pattern does have a cost to download.
You can download the pattern here.
What is peyote bead stitch?
Peyote stitch is a type of beading stitch that is worked in rows. Historically, this type of beading has been used by a range of cultures, from the ancient Egyptians to native American people.
In fact, this is where the term “peyote” comes from, as it is traditionally used to decorate objects used by the Native American Church in peyote ceremonies. Peyote, in turn, is a cactus that is used by Native American tribes for rituals and medicine.
Peyote stitch is sometimes also referred to as gourd stitch for the same reason.
There are many different types of peyote stitch, including:
- Flat odd-count flat peyote
- Flat even-count peyote
- Tubular peyote stitch
- Circular peyote stitch
Flat peyote is used in the tutorials in this article as it is simple and versatile. Most of these projects use even count flat peyote because it is very easy, and suitable for even complete beginners.
What makes peyote stitch jewelry special?
The supple yet sturdy nature of peyote beadwork means you can use it to create different types of jewelry, not just bracelets but also rings and necklaces, and also accessories such as belts, purse straps and hat bands.
Peyote beading, especially flat peyote, is very easy to do. This makes peyote jewelry excellent projects for all levels, including beginners.
However, peyote stitch remains a favorite of more experienced beaders, thanks to its versatility, allowing you to create a wide range of elegant pieces and even sculptural beadwork.
Peyote bead stitch is not only simple to do, but it also makes it easy to create a range of designs and patterns in its staggered horizontal rows. This simple technique can produce stunning stripes, honeycombs, chevrons, and even pictures.
Tips for the perfect peyote bead stitch
When choosing beads for your peyote stitch, look for beads that have a uniform size and shape that allows them to sit in neat rows. For example, Japanese cylinder beads produce great results for peyote stitch and are also easy to work with.
Many beaders also sing the praises of Delicas beads for their consistent size and shape, which is very important for achieving a neat, consistent peyote stitch.
Always start with a stop bead
Be sure to always start your first row of peyote stitch with a stop bead, to prevent your work from disintegrating. The easiest way to string a stop bead is to pass the needle and thread through the bead twice in the same direction.
The thread will wrap around the bead, securing the thread and the rest of your beads. It can be handy to use a different color bead as your stop bead so you can tell it apart from your peyote stitch.
You may find that your beads sometimes twist as you pull them into place, meaning that they don’t sit flat. If this happens, don’t worry – simply loosen the thread a little, untwist the bead, and carefully pull it back into place.
Make sure you do this straight away. Otherwise, you’ll have to undo all your stitches to go back to this point in your work and fix it.
Master odd count peyote
Peyote beadwork can be done in odd or even counts. As the name suggests, even count peyote has an even number of beads in the starting row, while odd count peyote starts with an odd number of beads.
Even count peyote is slightly easier to do because you don’t need to do the special turn at the end of every second row that is necessary in odd count peyote. However, even count peyote is a little more limiting as you can’t create patterns that are symmetrical from a center row.
For these kinds of mirror designs, you’ll need to master flat odd count peyote stitch!
Is it better to design your own pattern or follow a tutorial?
The advantage of creating your own designs is that you can make any pattern or effect that you like. You’ll be able to work with any pattern, design, or colors – you’ll only be limited by your imagination!
Of course, the benefit of following a tutorial is that all of the steps are laid out for you, and as long as you follow the instructions you should get a good result.
If you are new to peyote stitch, or to beading in general, we would certainly recommend starting with set patterns and tutorials until you get the hang of this craft. Once you’re feeling more comfortable with peyote techniques, why not experiment with creating your own designs?
Final thoughts
Peyote bead stitch has been beloved by artists all over the world for centuries, and it’s not surprising that it remains hugely popular with crafters today. A peyote stitch bracelet is an excellent project for beaders of all levels.
Complete beginners will be able to practice their flat, even count peyote to create a bracelet in a simple stripe or diagonal pattern, like this basic peyote stitch bracelet. If you have more experience, why not try the Caribbean getaway peyote bracelet or the ombre ribbons peyote stitch bracelet to develop your skills and create interesting effects.
If you liked this round up of the best peyote stitch bracelet tutorials, please go ahead and share it on social media.